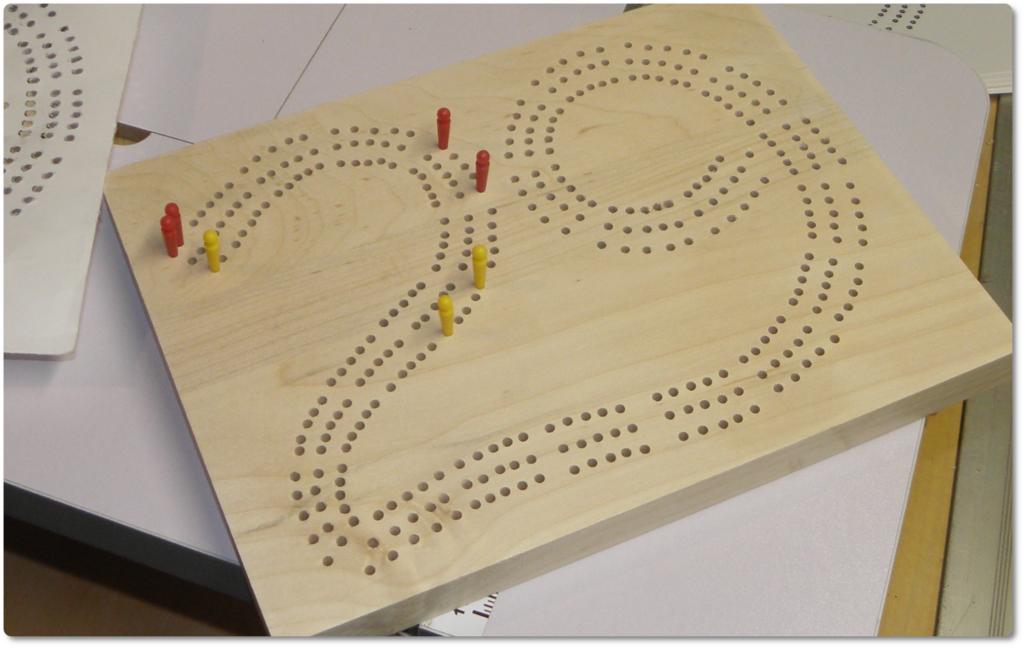
Many cribbage board enthusiasts learned to play the game of cribbage from one of their grandparents on a High Hand 29 style cribbage board. Regardless of how your initiation to the game occurred here’s your chance to make your very own High Hand 29 cribbage board and with a little help you can have it done in an afternoon. *Note – Ideally you will have access to a drill press for this project.
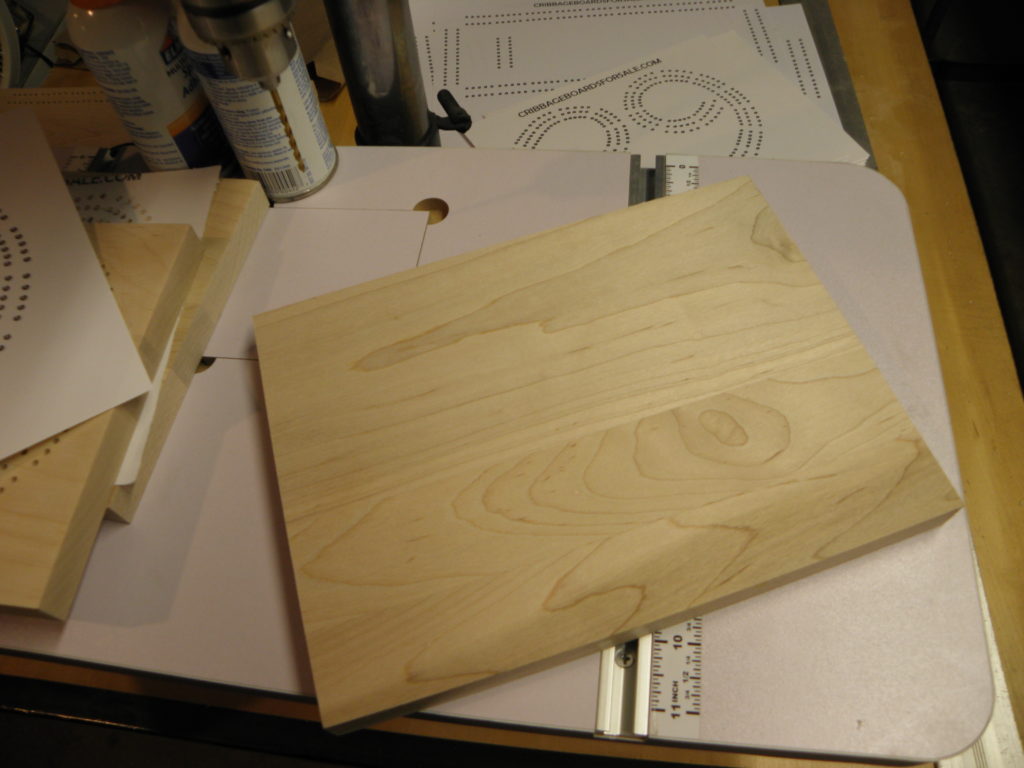
The first thing you will need is your project wood and a printable cribbage board template. For this project, use your choice of wood and cut to 7-1/2″ x 10″. –
Visit our Etsy store for the 29 Cribbage Printable Template
In the example photo, you’ll see a
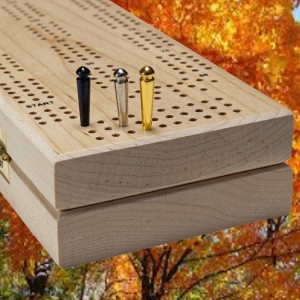
3/4″ x 7-1/2″ x 10″ Soft Maple blank that was used. While any hardwood will do soft maple is generally available and reasonably affordable. The soft maple is very easy to work with for cutting and finishing purposes.
You may find that you want to use a thicker base than 3/4″ as shown. Maybe you’d like a board with a little more bulk or simply don’t want to plane down your lumber. Go for it, but careful not to get much thinner than 3/4″ as your pegging holes will be drilled to 1/2″ depth.
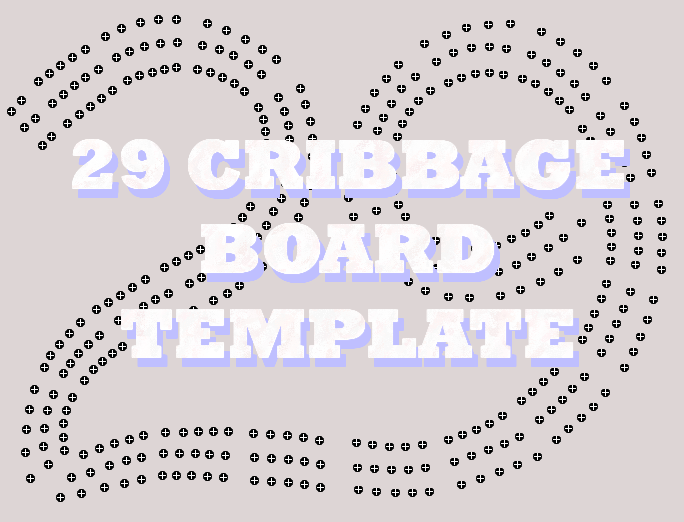
Presuming that you have your project lumber ready to go or that your well on the way to getting it. Now is the time to get your template ready. For this project, you will want to go to our Etsy store and download the 29 Cribbage Board Template *Note there is a small charge for the download.
Yes I have my 29 Cribbage Board Template download and I’m ready to go
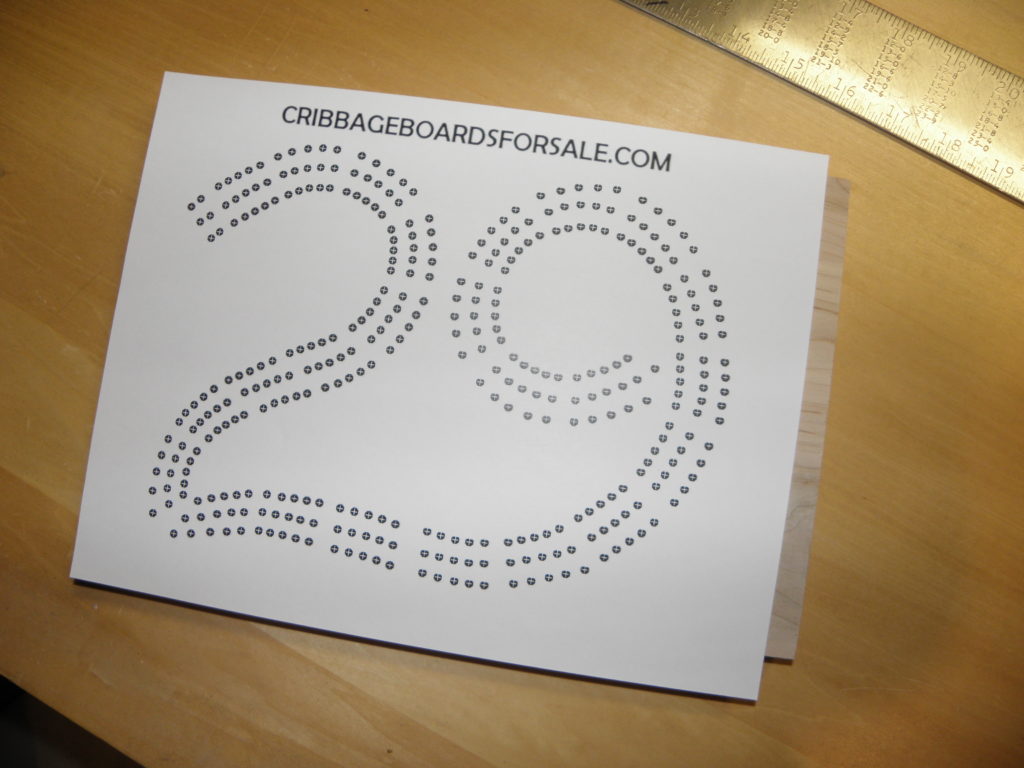
29 High Hand Cribbage Template
You’re going to notice that the cribbage board template is about an inch bigger than your project board, all the way around. Here’s where you will need a straight edge and a razor knife.
Usually, you can trim a 1/2″ from all sides and you are good to go. A little caution is recommended though – not all printers format identically and you may want to measure and draw out your lines first before trimming the paper. – See photo
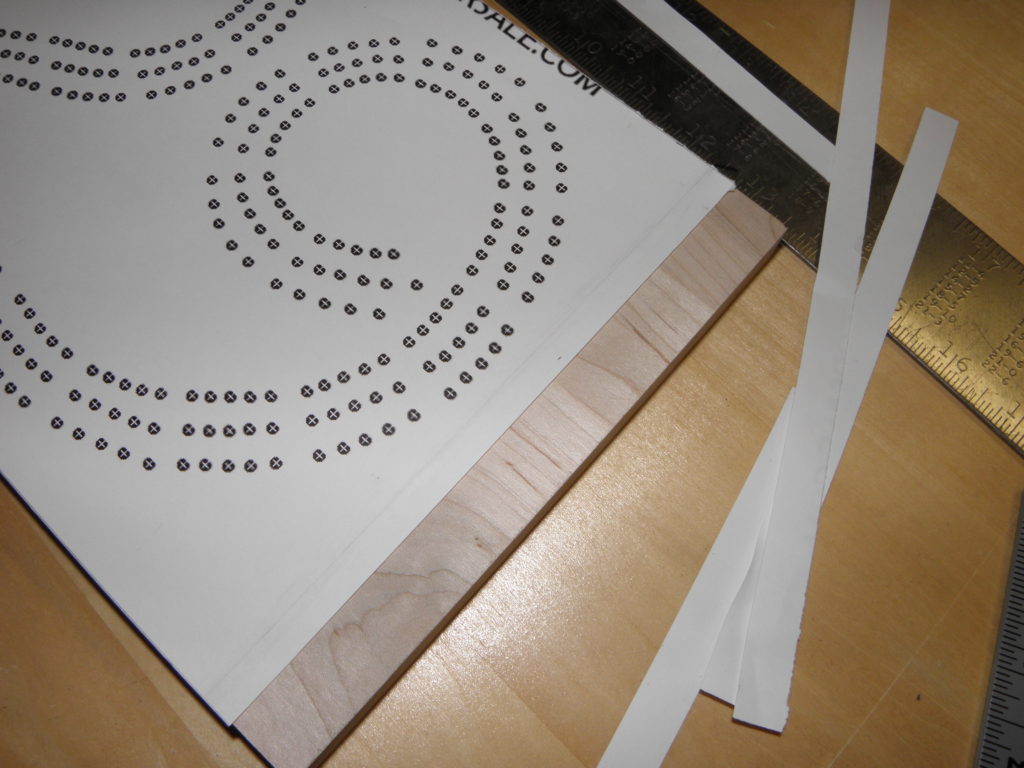
Once your template is trimmed you will want to lay it out on top of the project material to be certain it lines up well. If for some reason it doesn’t, no worries print another page and try again. O
If you are satisfied with how you have trimmed the template – it’s time to fix it to your project board so that it does not move on you until you have completed drilling your holes. Any quality hobby spray glue such as “Elmers Multi-Purpose Spray Adhesive should do the trick. – For easier removal after you are done drilling your holes: Read the directions – It is suggested you wait a couple of minutes after you have sprayed the glue before fixing the surface together.
Once the template is secured begin carefully drilling your holes by centering your 1/8″ wood drill bit where the lines meet to form an x center at the center of each circle. Set your drill press stop for a 1/2″ depth.
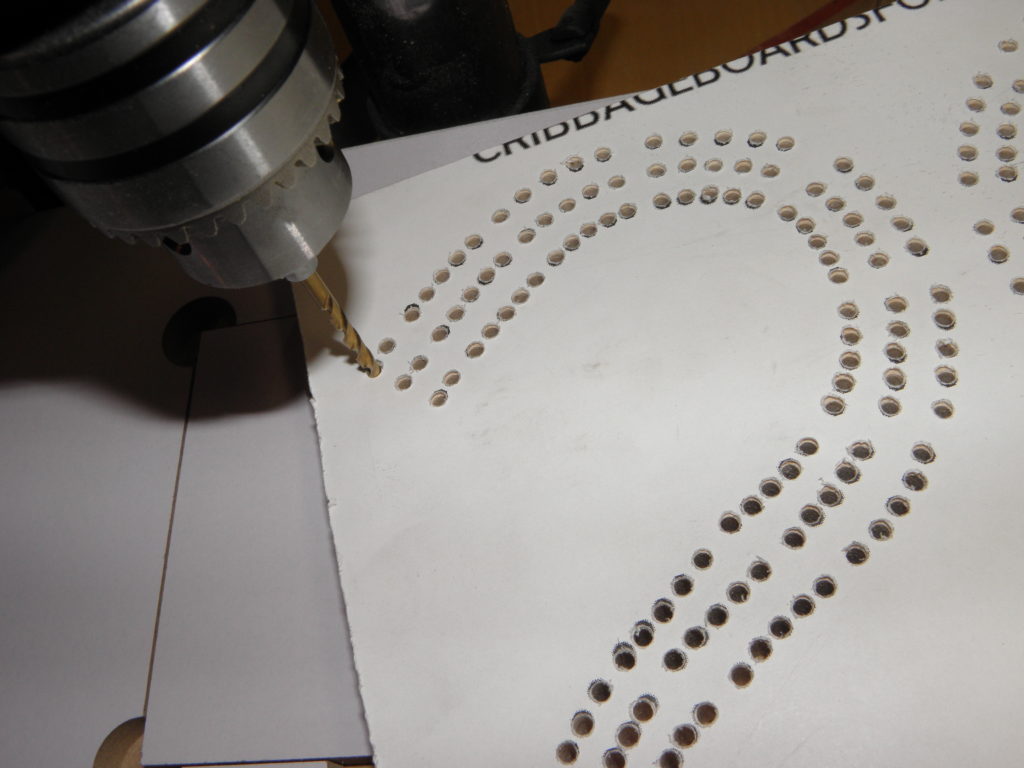
After all of the holes have been drilled, Carefully peel off the template. A light sanding will generally finish the job. If your glue dried too well you may want to try mineral spirits to help loosen it up.
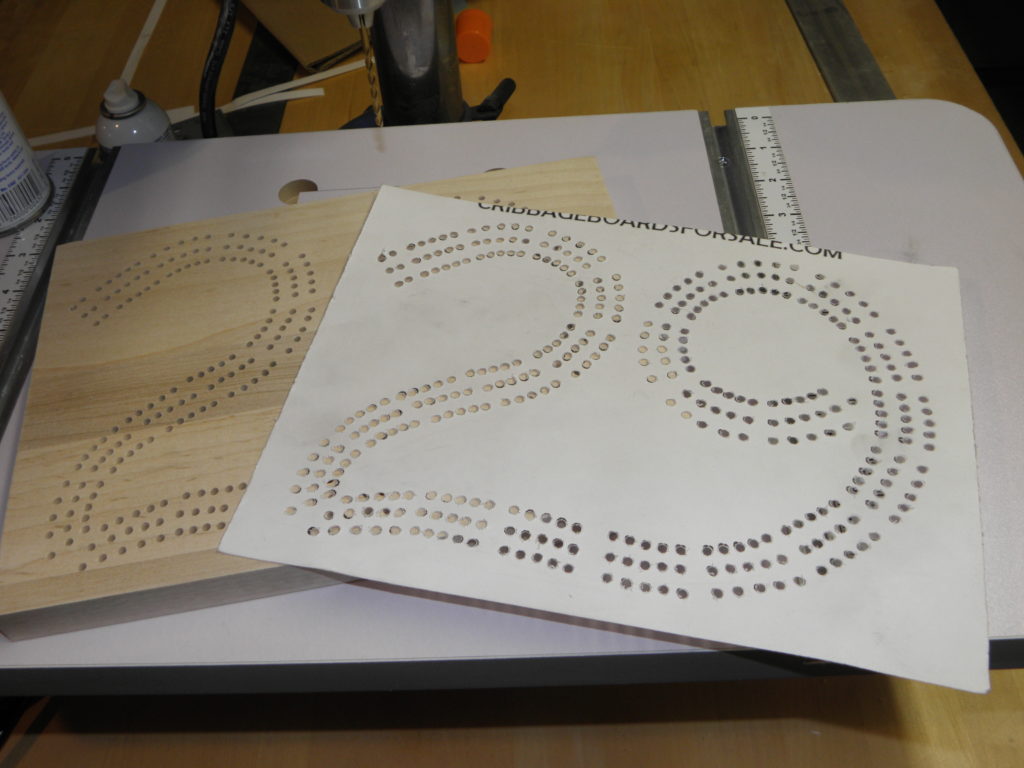
Other recommendations have been running it through through a planer or using a more aggressive sanding technique, e.g., orbital sander, belt sander, etc..
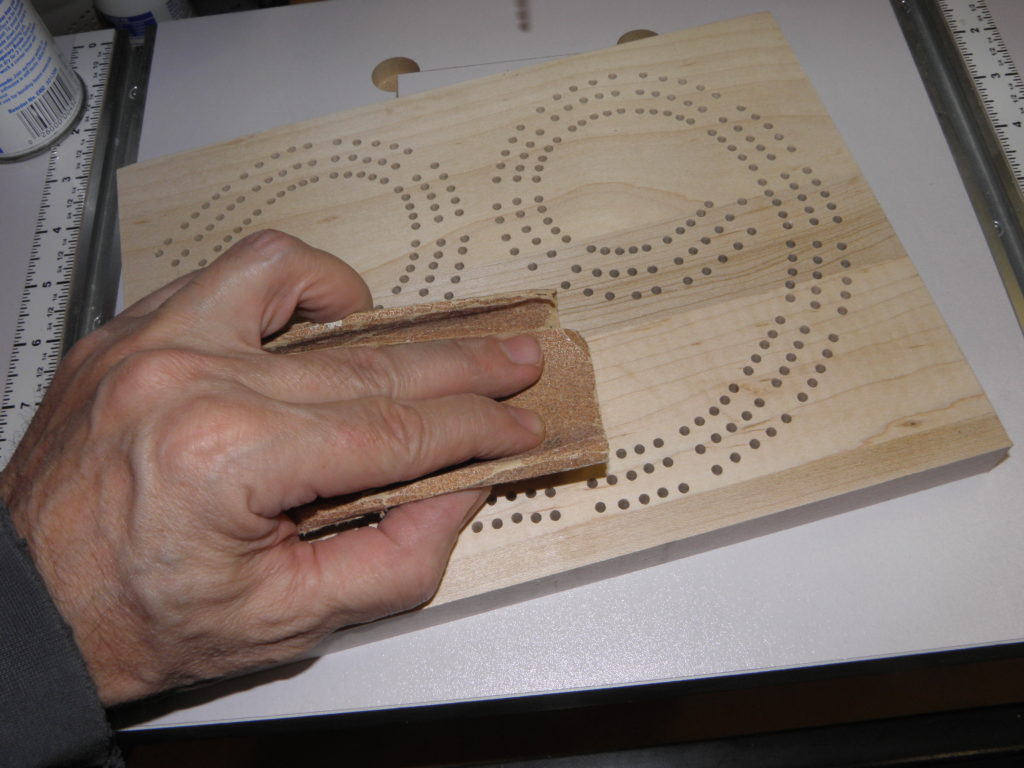
If you have followed these guidelines using your downloadable printable template you likely have a brand new High Hand 29 Cribbage board. Start playing as-is or apply your favorite stain and finish for a professional look.
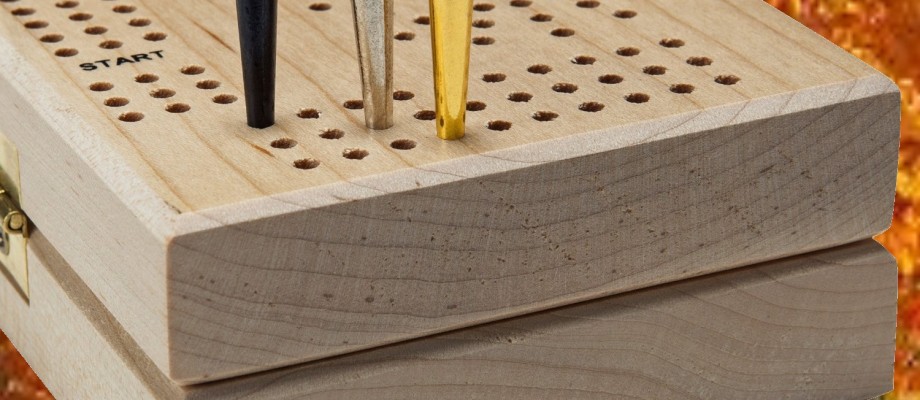
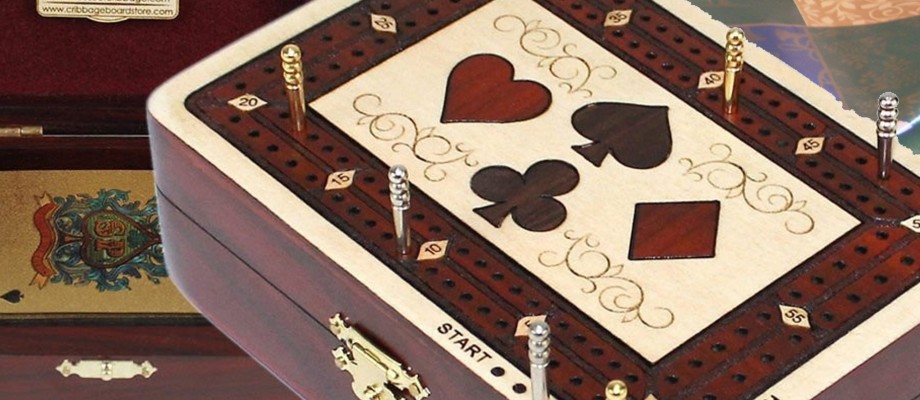
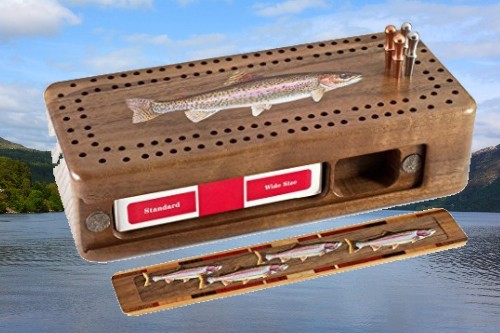
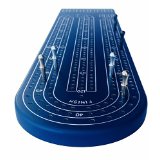
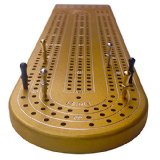
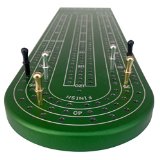
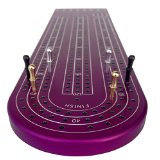
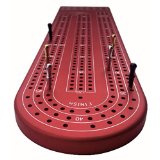 Click Pic
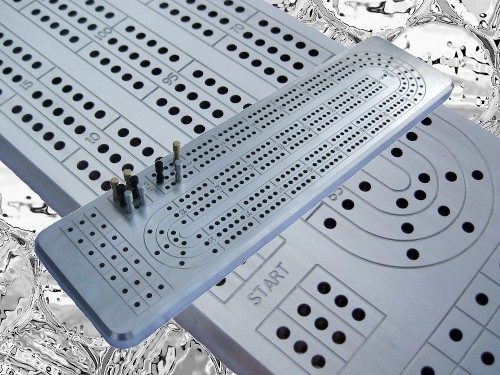
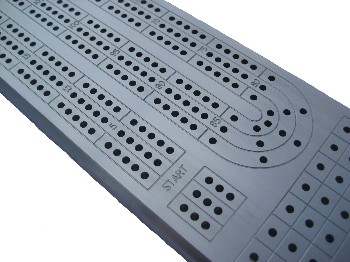 Board Specifications:
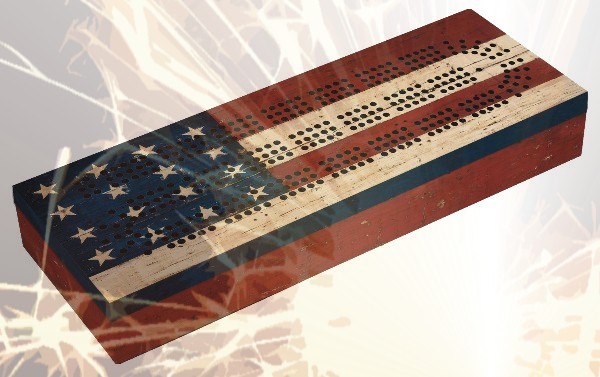
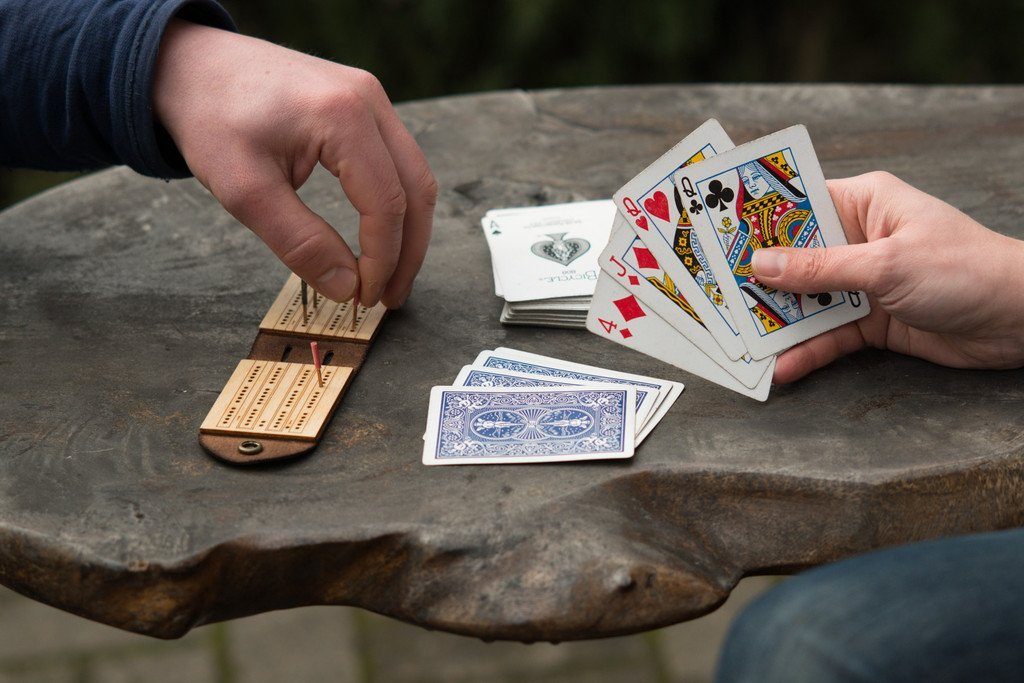
 A picnic, a fireworks display, a family reunion, and a game of cribbage with your favorite relative. “Pass the apple pie please”. For many the game of cribbage has become an essential part of their annual gathering. Why not use this year’s Fourth of July festivities to begin your own
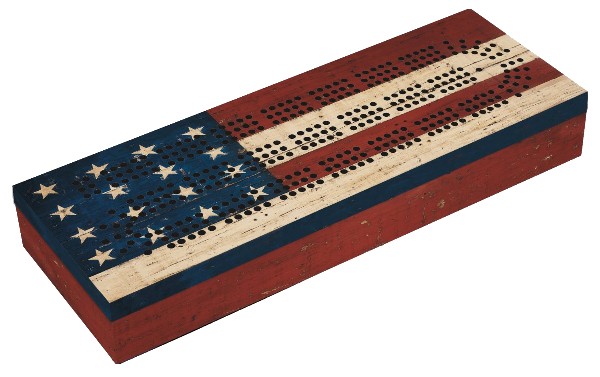
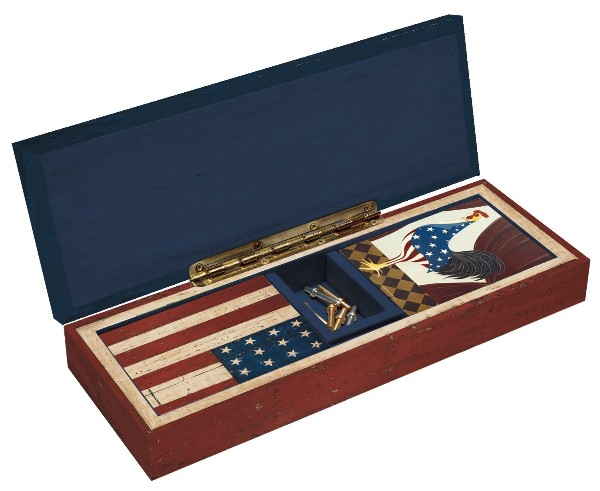
 The game of cribbage is easy to teach, and a wonderful way to interact with both your family and any new friends you may make while on your trip. It’s an ideal way to pass the time if you get stranded at the airport, or are held up with a mechanical difficulty. It is also a perfect way to keep the kids occupied when they’re not getting a mobile signal.
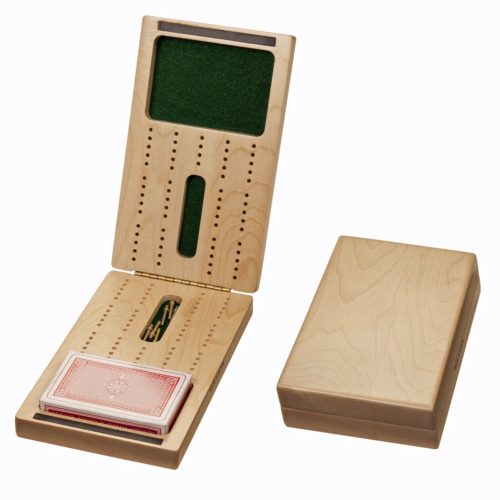
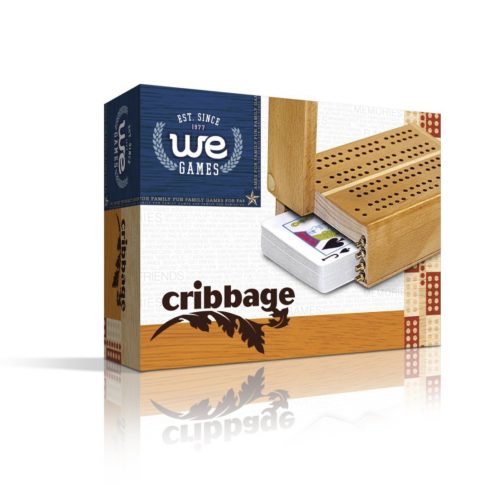
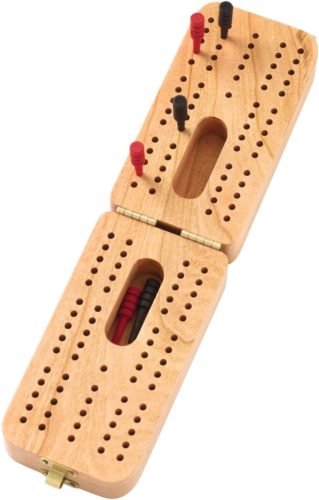
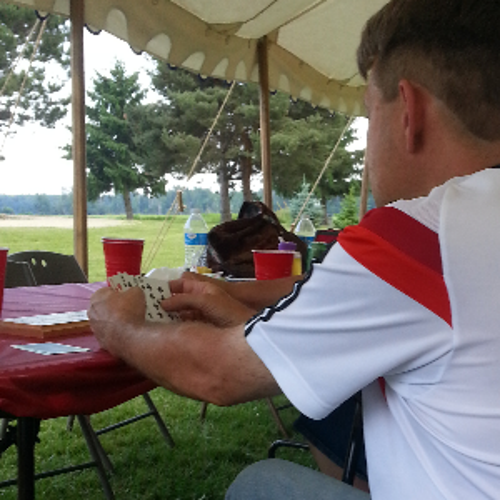 Are You Ready To Begin A Family Cribbage Tradition?
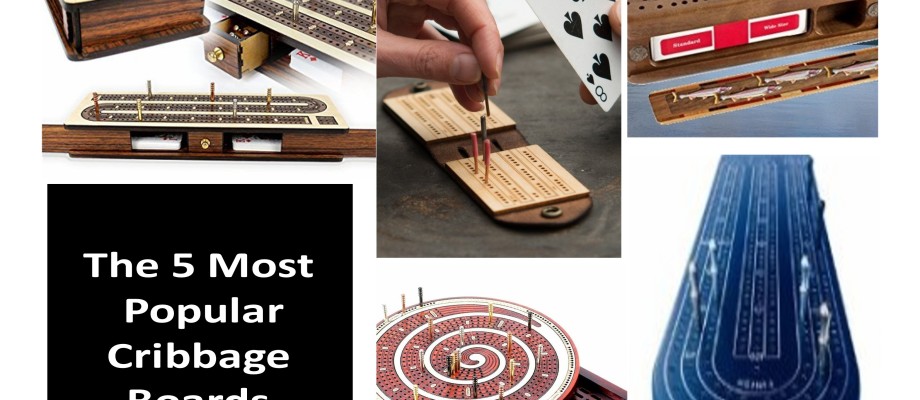
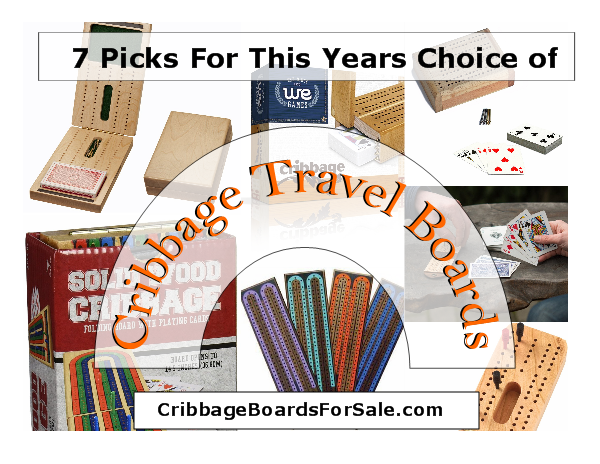
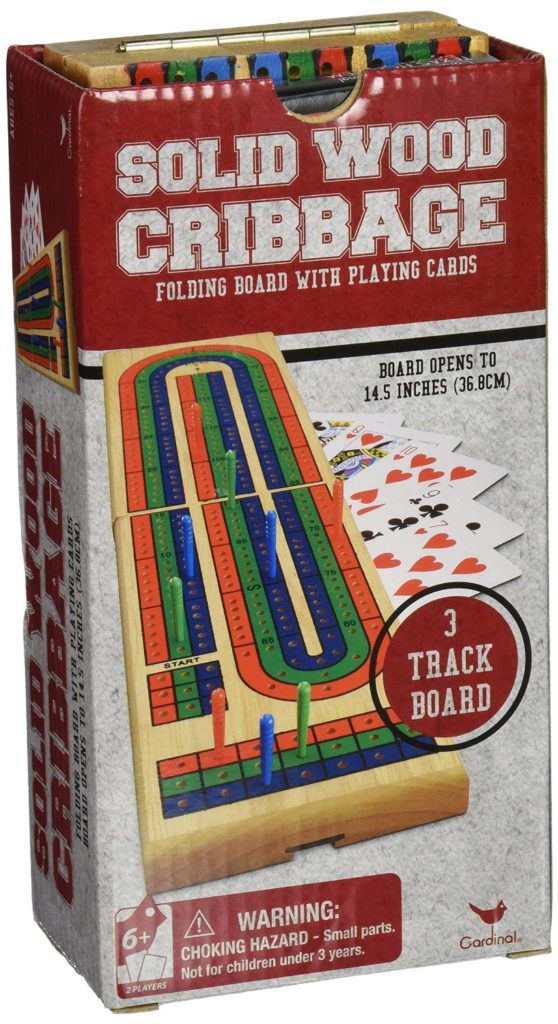
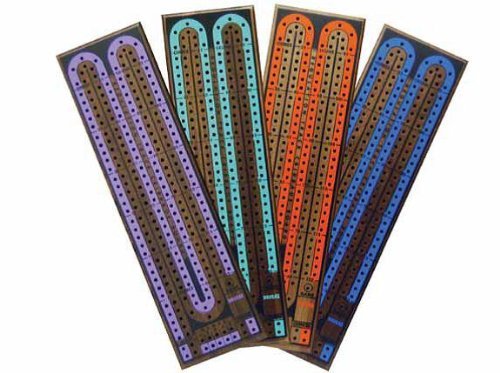
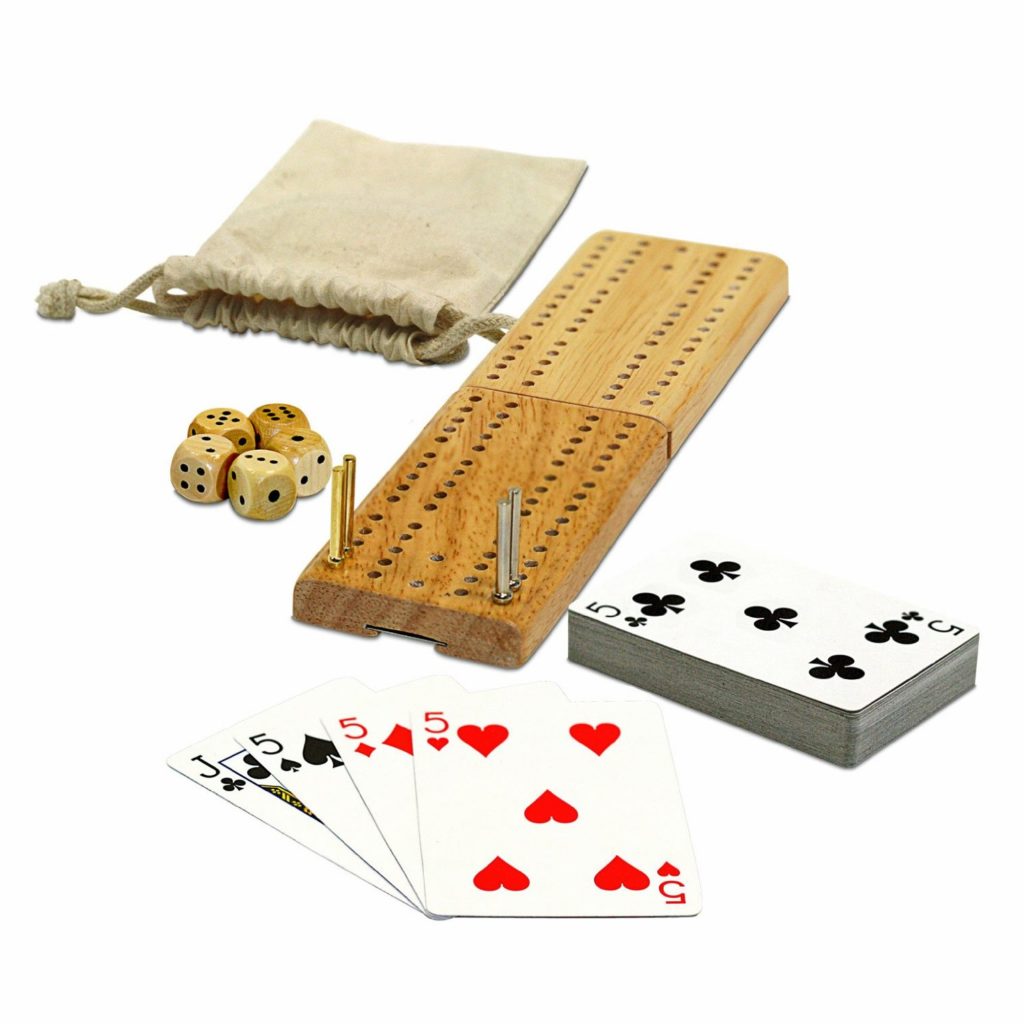
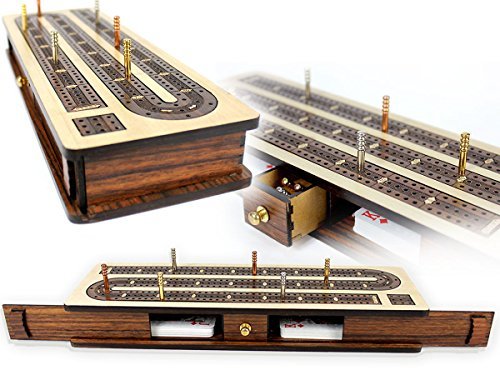
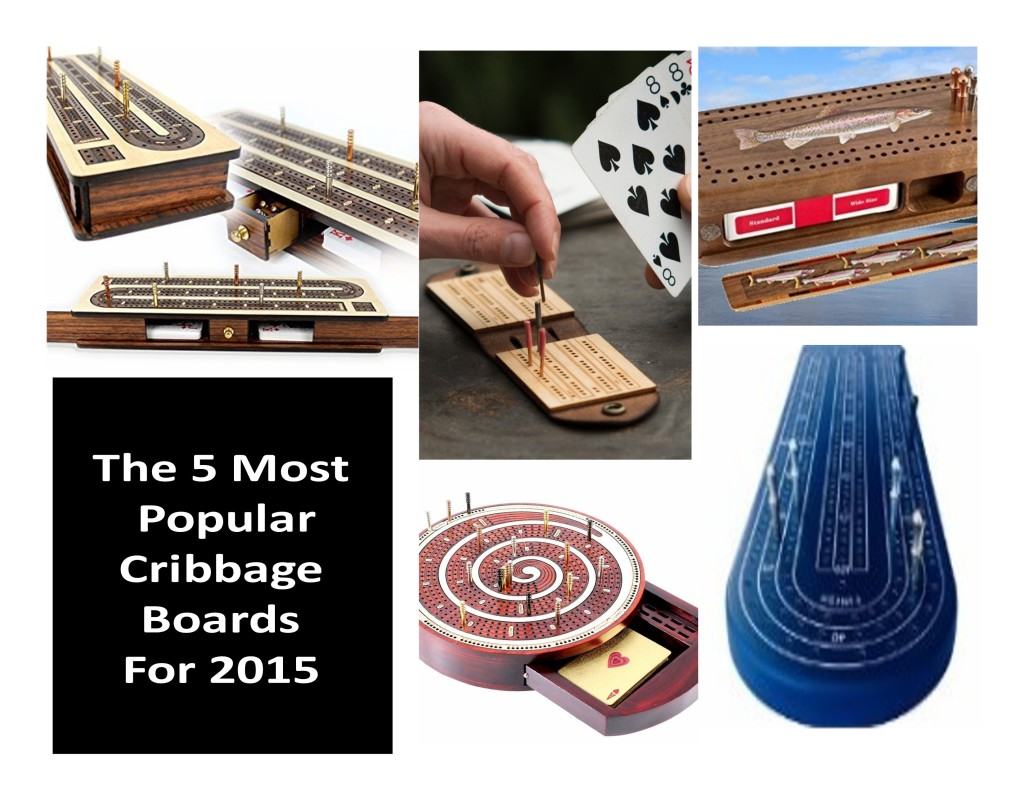 Cribbage Boards For Sale Top 5 Cribbage boards. This years selections are outstanding, and were picked based on the number of page views, popularity, and purchases. If you’re having a hard time deciding which cribbage board will make the best gift, any of the boards on this list will likely be the right choice.
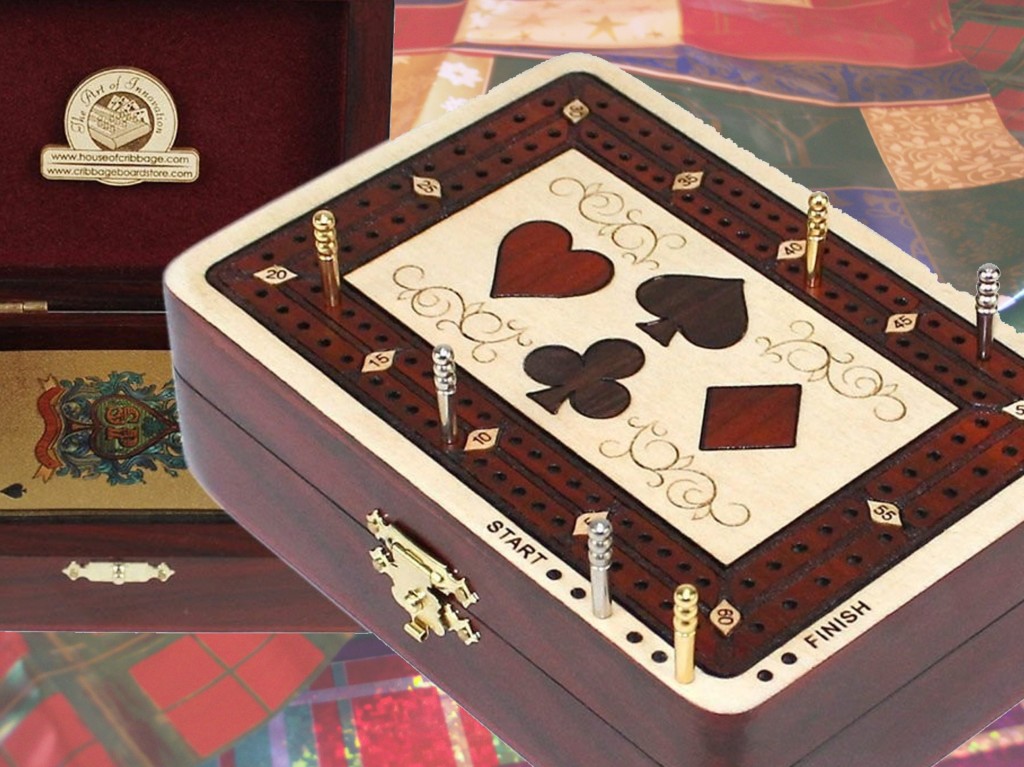
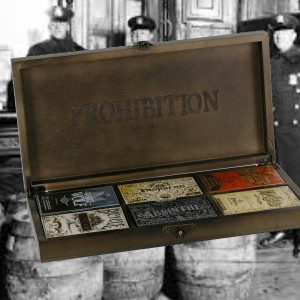

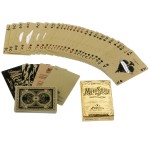 Disparos – The block printing design and false-edge border gives these cards a rustic feel. With embossed sugar skulls, duelling pistols and custom everything, these are shots of Tequila you won’t regret in the morning.
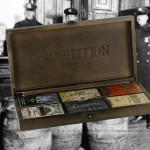
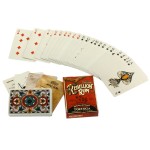 Rebellion Rum – Tropical hibiscus flowers adorn the back of the cards while the faces maintain the nautical theme. The inside of the tuck is printed with a maritime map, while the Ace of Spades takes the form of a Parrot and its raised wings. Like all the Prohibition decks, these are printed on the finest stock USPCC has available.
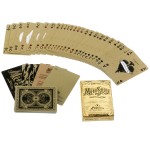 Moonshine – No Prohibition set would be complete without this sweet, illegal corn liquor. The court cards feature some of history’s most famous moonshiners, the box has some of the cleanest embossed printing we’ve ever seen and it’s all rounded out by a custom seal.
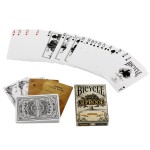 52 Proof – The giant oak tree on the front of the tuck box and seal is a symbol of the aging process for fine bourbon. From the Ace of Spades right around to the back design, this oak motif continues throughout the cards, whereas the Gold Foil stamping on the utside of the tuck and luxurious red satin-finished interior makes 52Proof one of the most gorgeous boxes we’ve ever produced.